Introduction
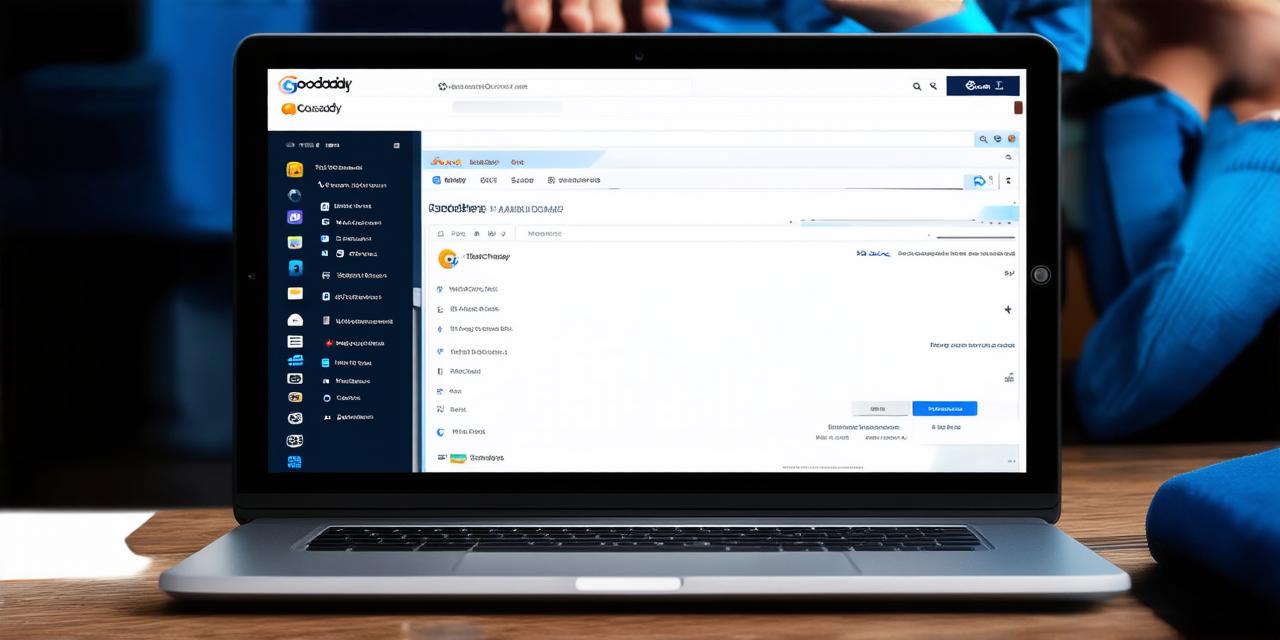
GoDaddy is a well-known domain name registrar, while Namecheap is a popular web hosting provider. Many people choose to register their domains with GoDaddy and then host their websites with Namecheap. However, sometimes the process of adding a GoDaddy domain to Namecheap hosting can be confusing or frustrating. In this article, we will guide you through the step-by-step process of adding a GoDaddy domain to your Namecheap hosting account.
Step 1: Log in to Your Namecheap Account
The first step is to log in to your Namecheap account. Once logged in, click on the "Hosting" tab and then click on the "Manage Hosting" button.
Step 2: Select Your Hosting Plan
Once you are in the "Manage Hosting" section, select the hosting plan that you want to use for your website. If you are not sure which hosting plan to choose, you can contact Namecheap customer support for help.
Step 3: Click on the “Domains” Tab
Next, click on the "Domains" tab. This is where you will find a list of all the domains associated with your hosting account.
Step 4: Add Your GoDaddy Domain to Namecheap
To add your GoDaddy domain to Namecheap, click on the "Add New Domain" button. Enter the domain name that you want to use for your website, including the top-level domain (e.g., .com, .org, .net). Click on the "Save" button to complete the process.
Step 5: Verify Your GoDaddy Domain
After adding your GoDaddy domain to Namecheap, you will need to verify that it is pointing to the correct IP address. To do this, log in to your GoDaddy account and navigate to the "My Products" section. Click on the domain name for which you want to verify ownership and then click on the "DNS" tab.
Step 6: Update DNS Records
In the DNS records section, find the A record that corresponds to your website and update it to point to the IP address of your Namecheap server. The IP address can be found in the "Hosting" section of your Namecheap account under the "Server Information" tab.
Step 7: Wait for DNS Propagation
After updating the DNS records, you will need to wait for the changes to propagate across the internet. This process can take anywhere from a few hours to a couple of days, depending on where your visitors are located. Once the changes have propagated, you should be able to access your website by entering your GoDaddy domain name in a web browser.
Benefits of Adding a GoDaddy Domain to Namecheap Hosting
There are several benefits to adding your GoDaddy domain to Namecheap hosting:
- Cost-Effective: Namecheap offers affordable web hosting plans that can help you save money on your website’s hosting costs.
- User-Friendly Control Panel: Namecheap’s control panel is user-friendly and easy to navigate, making it easy for you to manage your website’s hosting settings.
- Advanced Features: Namecheap offers advanced features such as SSL certificates, website builders, and email hosting that can help you improve your website’s performance and functionality.
- Reliable Uptime: Namecheap guarantees 99.9% uptime for its web hosting plans, ensuring that your website is always available to your visitors.
- Excellent Customer Support: Namecheap offers excellent customer support, with 24/7 live chat and phone support available to help you with any issues or questions that you may have.
FAQs
1. How do I update my GoDaddy DNS records to point to my Namecheap server?
To update your GoDaddy DNS records, log in to your GoDaddy account and navigate to the "My Products" section. Click on the domain name for which you want to verify ownership and then click on the "DNS" tab. Find the A record that corresponds to your website and update it to point to the IP address of your Namecheap server.
1. How long does it take for DNS changes to propagate?</h3